December 28, 2021
Did you know that there are more than 100 types of arthritis?
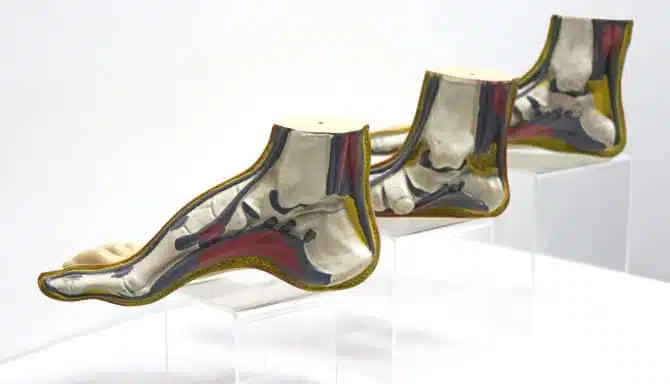
Arthritis is an inflammation of the joints, and it can affect any part of your body. Arthritis most commonly affects the feet and hands but it is also prominent in the back and neck. Although we often associate arthritis with old age, this condition in fact affects everyone. Just as there are many different types of arthritis, there are many different causes and treatment options.
The term arthritis is derived from arthr- (meaning "joint") and -itis (meaning "inflammation"). There is no known cure for arthritis and rheumatic diseases. However, that does not mean it’s hopeless – in fact, far from! There are a variety of effective treatments that can slow its progression, manage the pain, and substantially improve quality of life.
In this article, we’ll explore the most common forms of arthritis and their symptoms. We’ll also tackle how to treat and manage this condition.
What are the 5 symptoms of arthritis?
The five most common symptoms of arthritis are:
Pain
Stiffness
Swelling
Redness
Decreased range of motion
What are the most common forms of arthritis?
Among the 100+ forms of arthritis, the most common are: osteoarthritis, rheumatoid arthritis, psoriatic arthritis, gout, and lupus.
One’s vulnerability to arthritis can stem from a variety of factors. Often, there isn't a singular cause, but rather a combination of contributing factors, including:
Age
Unhealed or improperly healed trauma or injury
Joint deterioration due to chronic inflammation
Muscle weakness and deconditioning
Weight
Biomechanical abnormalities
Below you'll find a breakdown of the five most common types of arthritis. You can click on the headers to see our dedicated information page for each foot condition, and to get more information on stretches and exercises you can do at home to help your arthritis.
Osteoarthritis
Osteoarthritis is the most common type of arthritis and is a significant cause of disability worldwide. Roughly 3.9 million (13.6%) Canadians aged 20 years and older have been diagnosed with osteoarthritis. The prevalence generally increases with age and is more common among females than males.
Osteoarthritis in the feet often affects the joint at the base of the big toe, which connects the big toe to the foot (referred to as the first metatarsophalangeal joint, or “MTP” joint), although it also occurs in the midfoot and ankle. Bone spurs are often the by-product of osteoarthritis as the body's response mechanism to damaged joints.
Osteoarthritis can be described as joint wear and tear. This wear-and-tear can be due to overuse or an unhealed injury. There are many things that can result in a joint being overused, such as being overloaded (i.e.: from weight gain), compensation for an injury, or – as most commonly is the case – the mileage we put on our joints as we get older. The process that causes osteoarthritis is in fact a result of the body's failed attempt to repair joint tissues that are damaged due to these factors.
Unlike the other types of arthritis we’ll discuss below, osteoarthritis is unique in that it actually involves relatively little joint inflammation and is not-autoimmune related. However, since inflammation is the body’s response to repairing joint damage, inflammation may often develop as a result of osteoarthritis.
Common symptoms of osteoarthritis in the feet include:
Joint pain, stiffness, and swelling that is worse with activity and relieved with rest.
Limited flexibility and movement in the joints
Feeling like your joints are not moving smoothly
Joint pain in response to weather changes (i.e.: rain)
Bony protrusions (“bone spurs”)
Foot deformities, including bunions, clawed toes and hammertoes
Rheumatoid arthritis
Rheumatoid arthritis is the most common chronic inflammatory joint disease.
It is an auto-immune disease, meaning that it occurs when our immune system starts fighting healthy cells. When healthy, our immune system is our defense mechanism against germs and bacteria. However, when our immune system misfires, the complex network of cells and proteins that defends the body against infection fights itself. In the case of rheumatoid arthritis, fights the synovium, which is the layer of tissue that surrounds our joints and helps them move. This results in very stiff joints and difficulty moving.
When our immune system typically tries to repair a part of our body, it directs fluid and white blood cells to heal the injured area. This reaction causes swelling and inflammation, and is part of our body’s natural way of healing itself. However, with auto-immune diseases, because the body’s immune system is misfiring, it keeps sending fluid and producing inflammation – even when it doesn’t need to. As such, one of the primary by-products of rheumatoid arthritis is intense swelling and inflammation, which at times can be painful and make it difficult to move. The excessive inflammation causes calcification, which over time can damage the joints.
In Canada, roughly 374,000 (1.2%) of those aged 16 years and older live with diagnosed rheumatoid arthritis. The prevalence and incidence of diagnosed rheumatoid arthritis generally increases with age and is higher among females than males.
Unlike the wear-and-tear and non-inflammatory damage of osteoarthritis, rheumatoid arthritis affects joint tissue, and is associated with a lot of inflammation. Because movement interrupts the body’s auto-immune response and breaks up the inflammation that causes stiffness, people with rheumatoid arthritis actually benefit from physical activity and movement. The opposite is true for those with osteoarthritis: Since osteoarthritis involves the grinding of joints due to a breakdown in cartilage, avoiding activity that aggravates your feet and toes is critical.
The signs and symptoms of rheumatoid arthritis are also slightly different than osteoarthritis: Whereas osteoarthritis can be quite constant, rheumatoid arthritis is characterized by periods of increased pain, called flare-ups, which alternate with relatively pain-free periods (called remission).
Over time, the inflammation and calcification caused by rheumatoid arthritis can cause joints to deform and shift out of place.
Juvenile idiopathic arthritis
The most common type of arthritis among children and adolescents is juvenile idiopathic arthritis (JIA). It is in fact a type of rheumatoid arthritis that specifically affects children.
Juvenile idiopathic arthritis (JIA) is a general term covering all categories of chronic inflammatory joint diseases in children younger than 16 years old. The first signs often appear in the joints and surrounding tissues, and present as joint pain, swelling, and stiffness. The exact causes are unknown but are believed to be related to genetic and environmental factors.
Although juvenile arthritis targets children, it is not the only type of arthritis specific to younger demographics. For instance, ankylosing spondylitis, another type of inflammatory arthritis that specifically targets the spine, usually develops in the late teens or early 20’s.
Psoriatic arthritis
Psoriatic Arthritis is a chronic inflammatory condition of the joints associated with psoriasis. Psoriasis is a skin-related autoimmune disease that causes red, itchy scaly patches, most commonly on the knees, elbows, trunk and scalp. About 30% of people with psoriasis develop psoriatic arthritis, and psoriasis is often a precursor to psoriatic arthritis.
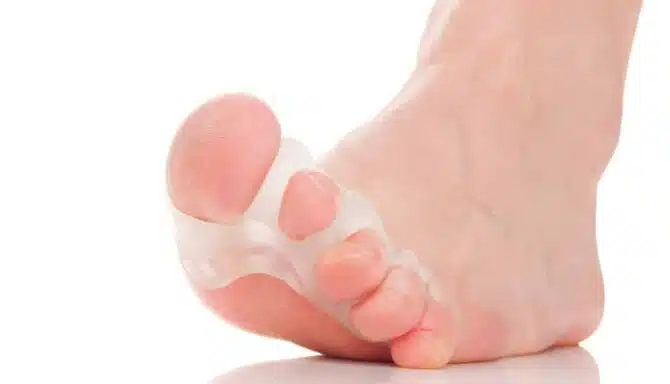
Psoriatic arthritis commonly affects the feet and ankles. It is characterized by sausage-like swelling of the toes (this is commonly referred to as “sausage toes”, although the medical term is “Dactylitis”), swelling of the feet, changes to the toenails, and scaley skin rashes on the feet and toes. The joints may also become stiff and painful.
Because psoriatic arthritis, like rheumatoid arthritis, is auto-immune related and involves inflammation, the symptoms, presentation and treatment is similar to rheumatoid arthritis.
Gout
Gout a type of inflammatory arthritis that commonly affects the joints in the feet. It is caused by high levels of uric acid in the blood and tissues. When uric acid levels in the bloodstream get too high, the body reacts by crystallizing the excess uric acid.When the uric acid crystals are deposited on the joints, it triggers an inflammatory auto-immune response that causes joint pain (similar to rheumatoid arthritis).
Gout is characterized by recurrent “attacks” of severe pain, where the joints become swollen, hot, red and extremely hypersensitive to touch (even laying your bed sheet over your foot can be excruciating). These attacks are usually localized to one joint, but may over time occur in multiple joints at once. Gout typically starts in the joint at the base of the big toe (the first MTP joint), and then, if untreated, can spread upward with each attack. Gout attacks can make any activity involving the feet virtually impossible.
According to Statistics Canada. approximately 681,000 (2.4%) Canadians aged 20 years and older have been diagnosed with gout and other crystal arthropathies, and becomes more prevalent with age. Unlike other types of arthritis, gout is more common in men than women.
Treating gout usually entails preventative measures, pain relief, and dealing with any residual joint damage from attacks. Because gout is a type of inflammatory arthritis, some if its treatment is similar to rheumatoid arthritis – usually a combination of NSAIDs, corticosteroids, lifestyle modifications, and supportive footwear. Unlike other forms of arthritis, gout treatment can also involve medication to regulate uric acid levels.
Lupus
Lupus is another autoimmune disease that occurs when your body's immune system attacks your own tissues and organs. It mimics the symptoms of numerous other conditions, which is why it is sometimes referred to as a "great imitator" – a phrase used for conditions with nonspecific symptoms that may be confused with a number of other diseases.
With lupus, our immune system mistakenly attacks the body's joints and organs. Lupus not only affects the joints — it affects the skin, kidneys, blood cells, brain, heart, and lungs. This makes it different than other auto-immune related arthritis conditions, like rheumatoid arthritis, which primarily attack the joints.
Symptoms of Lupus tend to come in intermittent “flare-ups” (like rheumatoid arthritis). This is when symptoms are most felt and clear. Between flare-ups, people usually experience periods of remission, when there are few or no symptoms.
The most common symptoms of Lupus include:
Fatigue
Pain or swelling in joints and muscles
Swollen glands, or lymph nodes
Skin rashes, due to bleeding under the skin
Sensitivity to the sun
Pale or purple toes from cold or stress
Arthritis
Because Lupus also affects the organs, Renal (kidney) inflammation is one of the common and most serious manifestations of lupus. It can go undetected and ultimately lead to renal failure and dialysis. Another complication that comes with Lupus is Raynaud’s, a disease where the smaller arteries that supply blood to your skin become narrow, limiting blood flow to affected areas - the end result being a numbing and discolouring of your feet and toes.
How do you treat arthritis?
There is no “cure” for arthritis; however there are many ways you can manage and treat its symptoms, and halt its progression. Treating arthritis in the feet and ankles involves a comprehensive approach that integrates various treatments. Treatments from a chiropodist may include:
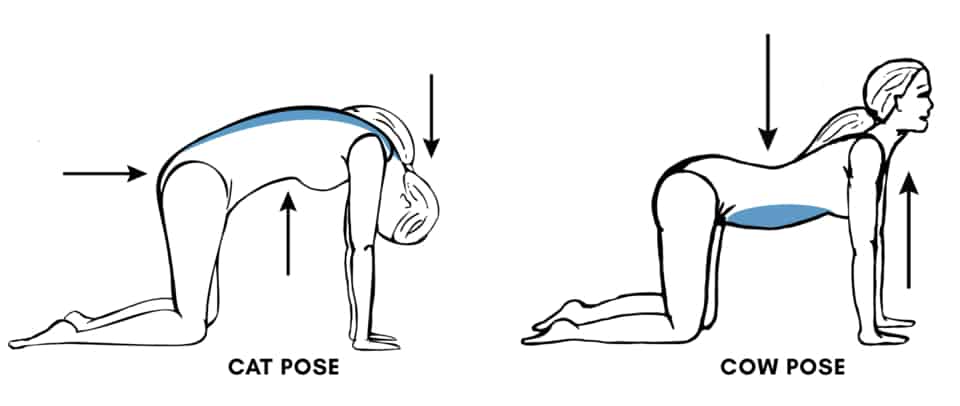
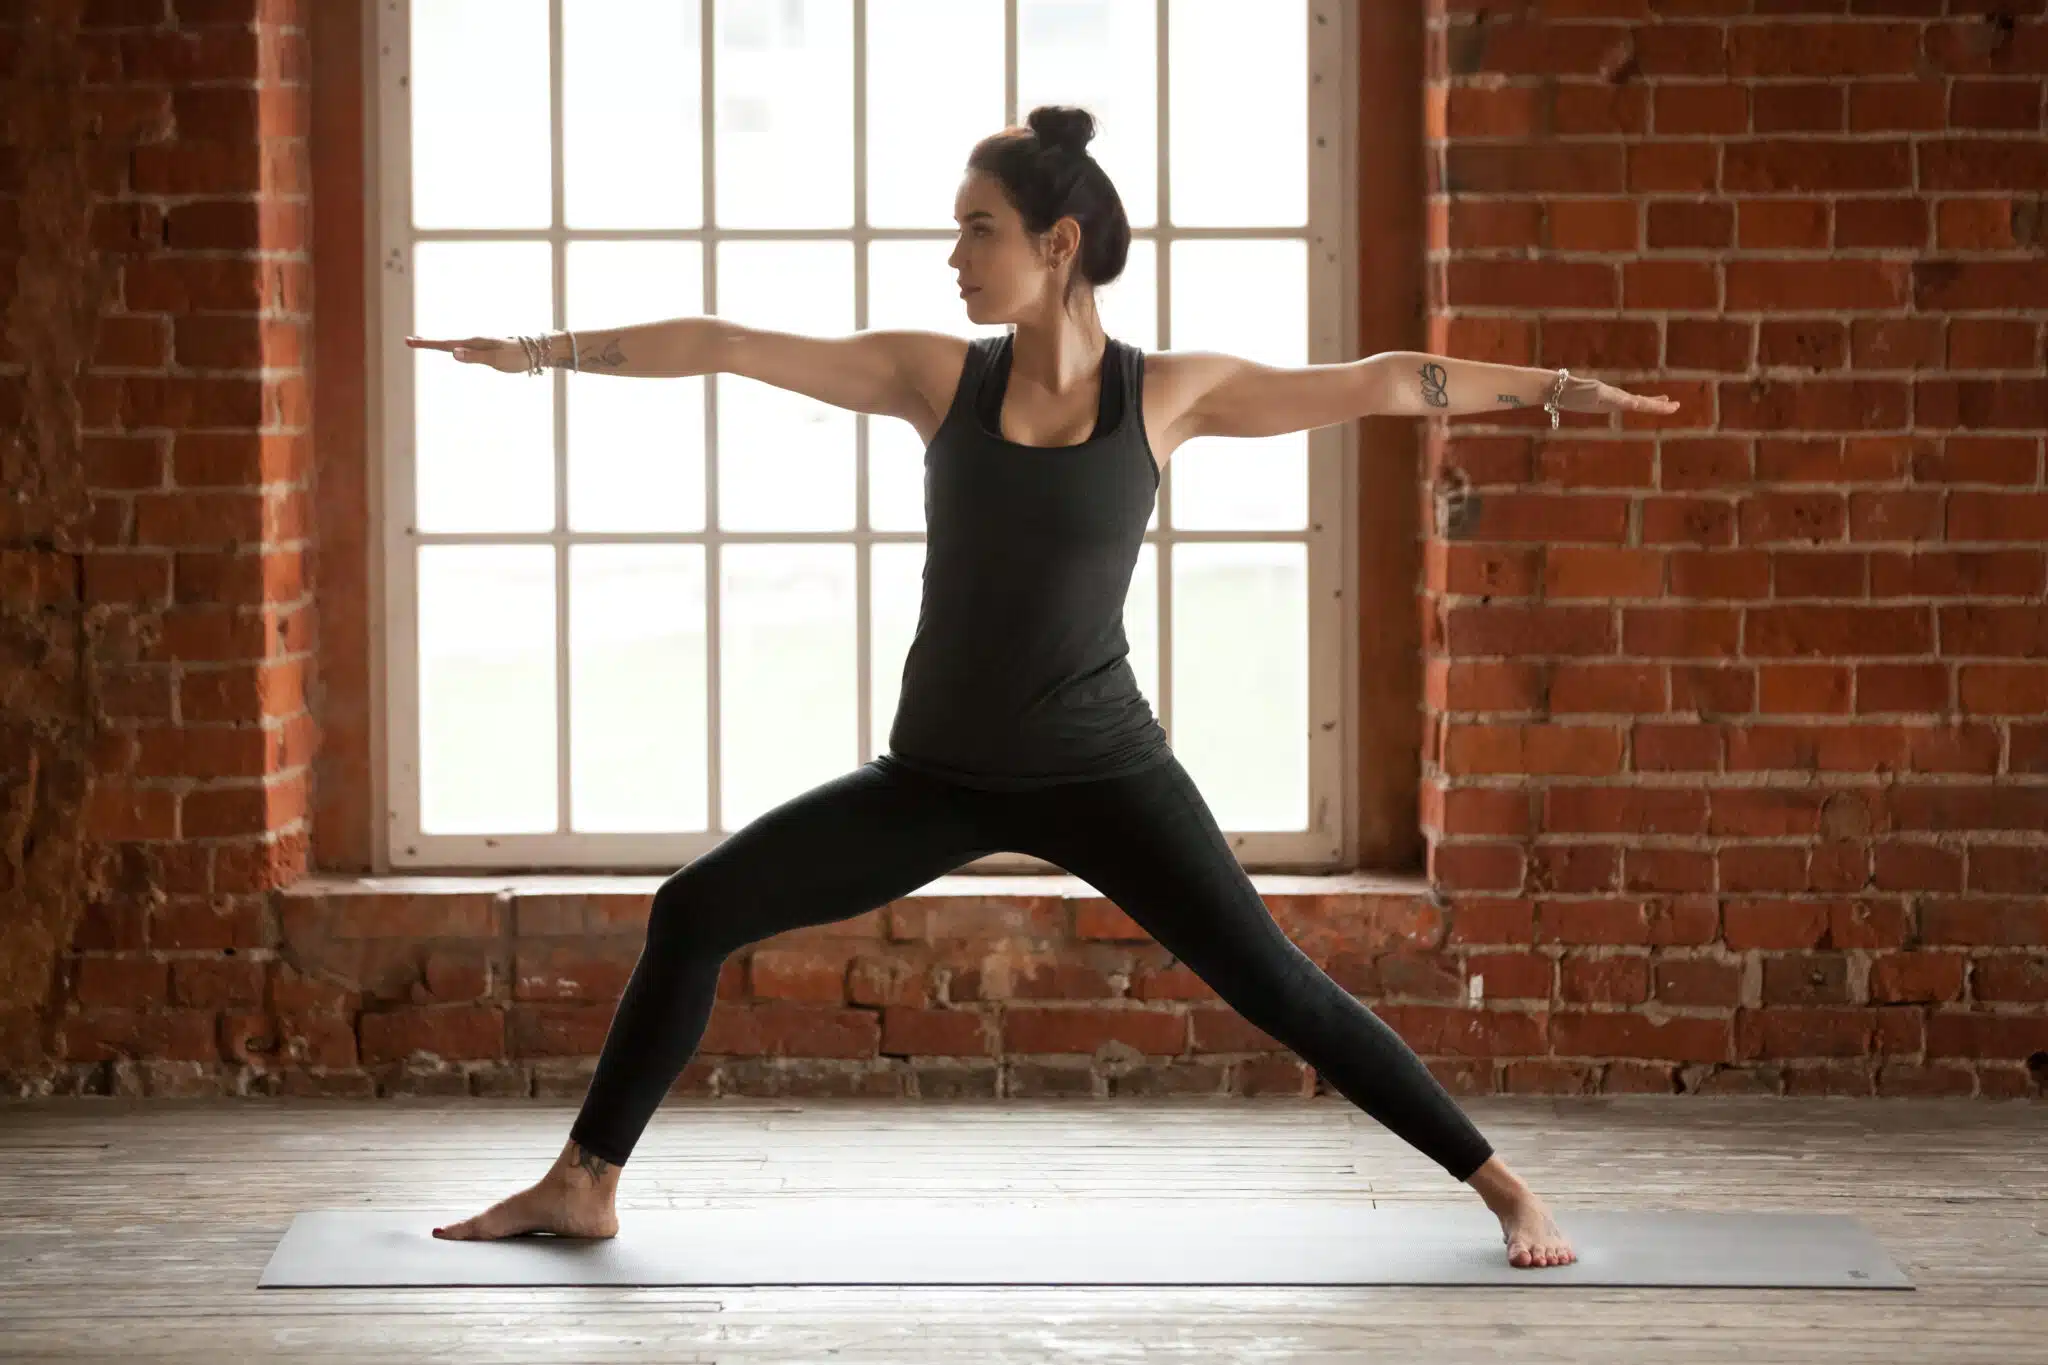
Active rehabilitation: Regular exercise involving strengthening and conditioning the affected muscles is essential to long-term successful management of Osteoarthritis. By strengthening muscles connected to the feet, ankles and knees, it decreases the strain and burden on the joints and halts degeneration. A foot specialist can recommend healthy, safe movement exercises specially catered toward your unique medical needs. Check out our Pinterest stretching board for demonstrations and infographics of chiropodist-recommended foot stretches and exercises you can do at home.
Medication: This may involve anti-inflammatories like Ibuprofen.
Proper Footwear: Our clinic carries a variety of specialized shoes that accommodate deformities resulting from osteoarthritis (like bunions or hammer toe). Proper footwear also promotes biomechanically friendly movement and provides the necessary support for arthritic feet. This helps mitigate joint wear and tear.
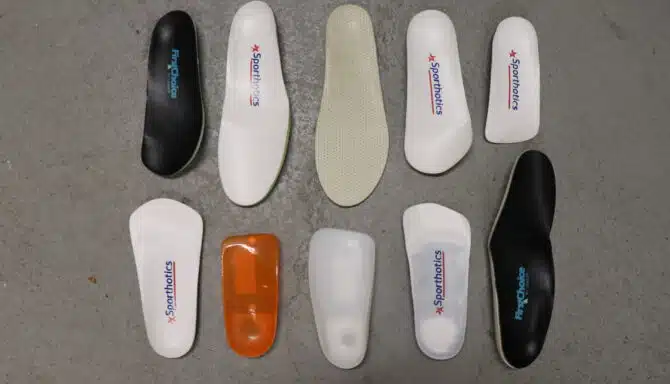
Superfeet: Superfeet insoles are more supportive and rigid than typical over-the-counter insoles. This helps keep your foot in the proper position and ensures healthy weight distribution when you move, which in turn helps alleviate strain on the joints in your feet and ankles.
Custom orthotics: Ensuring your foot is aligned properly in a neutral position is crucial for promoting healthy biomechanics and reducing foot pain. Custom orthotics are – as the name implies – customized to the very shape of your foot and your unique biomechanics. They can also accommodate for deformities that commonly occur with arthritis and can be inserted into your existing shoes. Orthotics also control the biomechanics that deteriorate joints. Limiting pronation and supination helps prevent painful and harmful movements during your gait cycle, especially at the large toe.
Limit painful movements: You can try substituting high-impact activities (i.e.: running) with low-impact activities (i.e. elliptical running or swimming). This encourages physical activity in ways that don't cause further damage or pain to the arthritic area.